1) On the front of the stand, you will find the cable upper cable insert slot. You will need to unscrew the cover as shown in the image below, to get access to the cable management slot and the screws holding the plastic backing of the stand on.
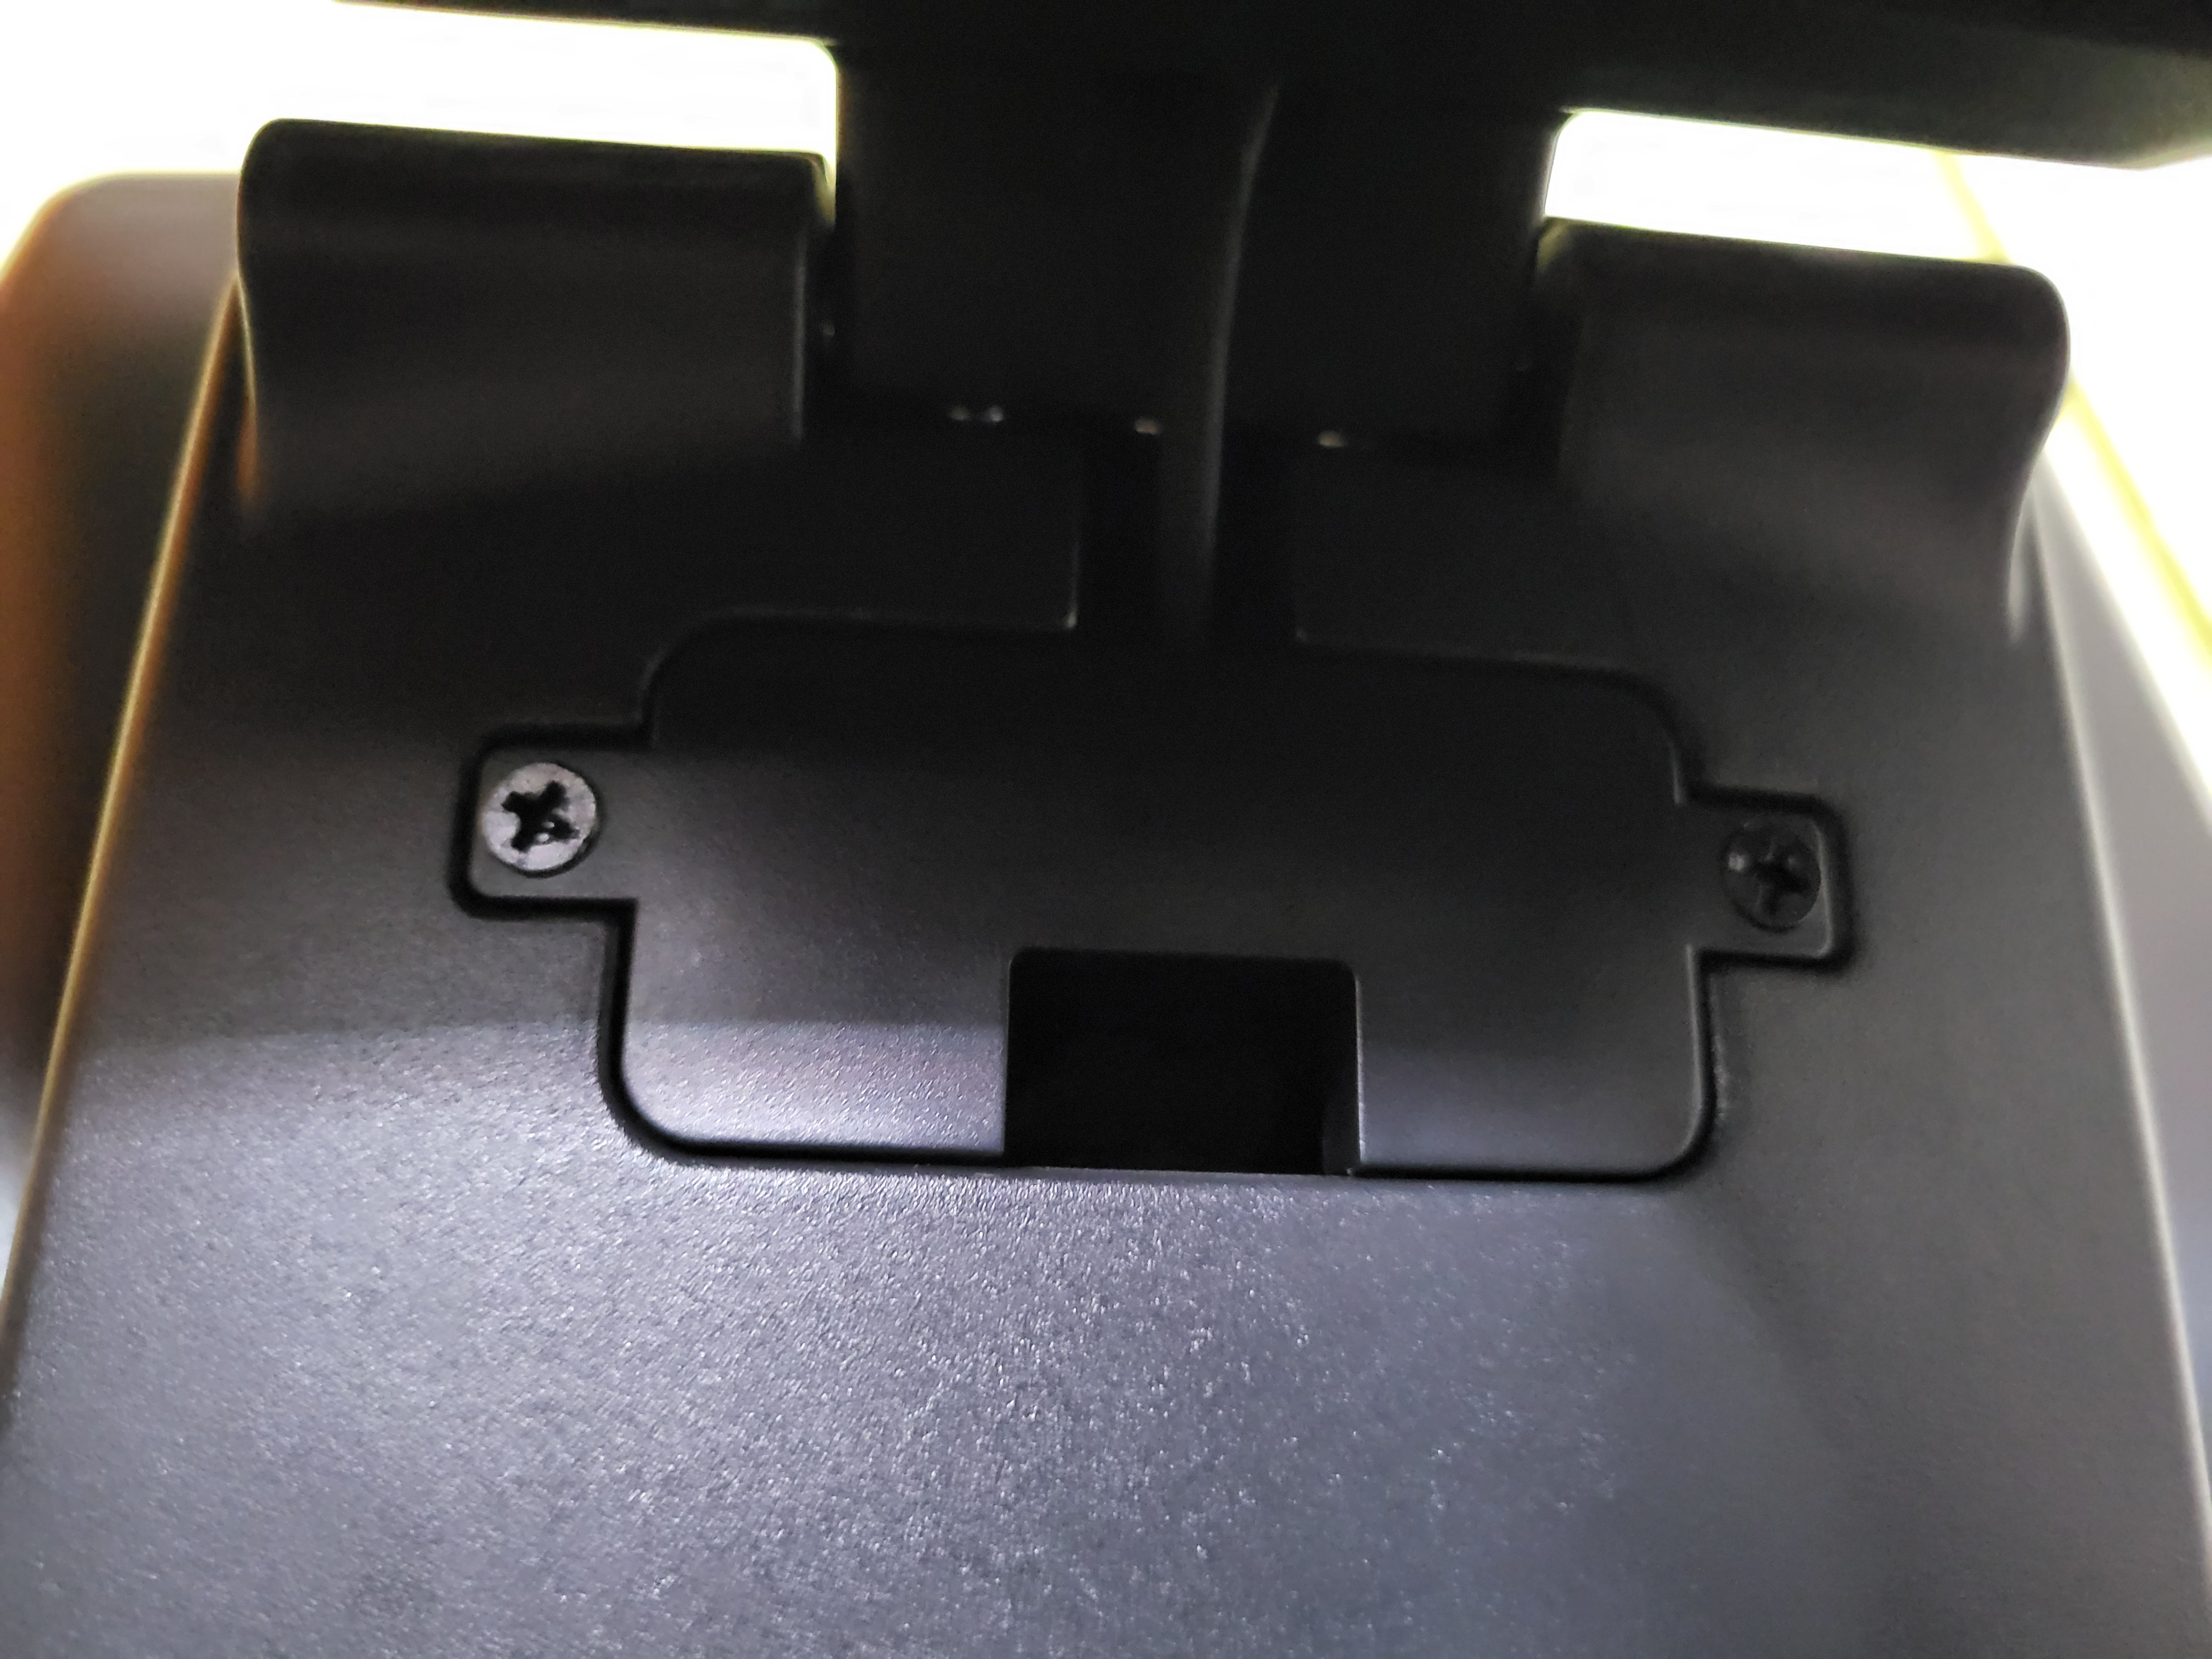
2) From here, once you unscrew the silver screws as shown below, you will be able to remove the plastic backing for single screen terminal.
With our dual screen terminal, the customer facing screen will limit your accessibility to the cable management slot, though you should have enough space to loop the cables through more freely. For additional maneuverability, you can continue to the next step.

3) If you require more space, you can partially remove the secondary screen. However, please be cautious not to damage the cable while handling the screen. To proceed, simply remove the four black screws as shown. Since the secondary screen is directly connected to the motherboard, you won’t be able to remove it entirely, but this adjustment will provide additional space for cable management.

4) As an example of what can fit though the slot with the additional space, a power cable head has been inserted.

Was this article helpful?
That’s Great!
Thank you for your feedback
Sorry! We couldn't be helpful
Thank you for your feedback
Feedback sent
We appreciate your effort and will try to fix the article